How to apply your i:licious lashes
This is where you will find all the tools, tips and advice you need to make sure your i:licious lashes are applied to perfection.
How to apply your lashes
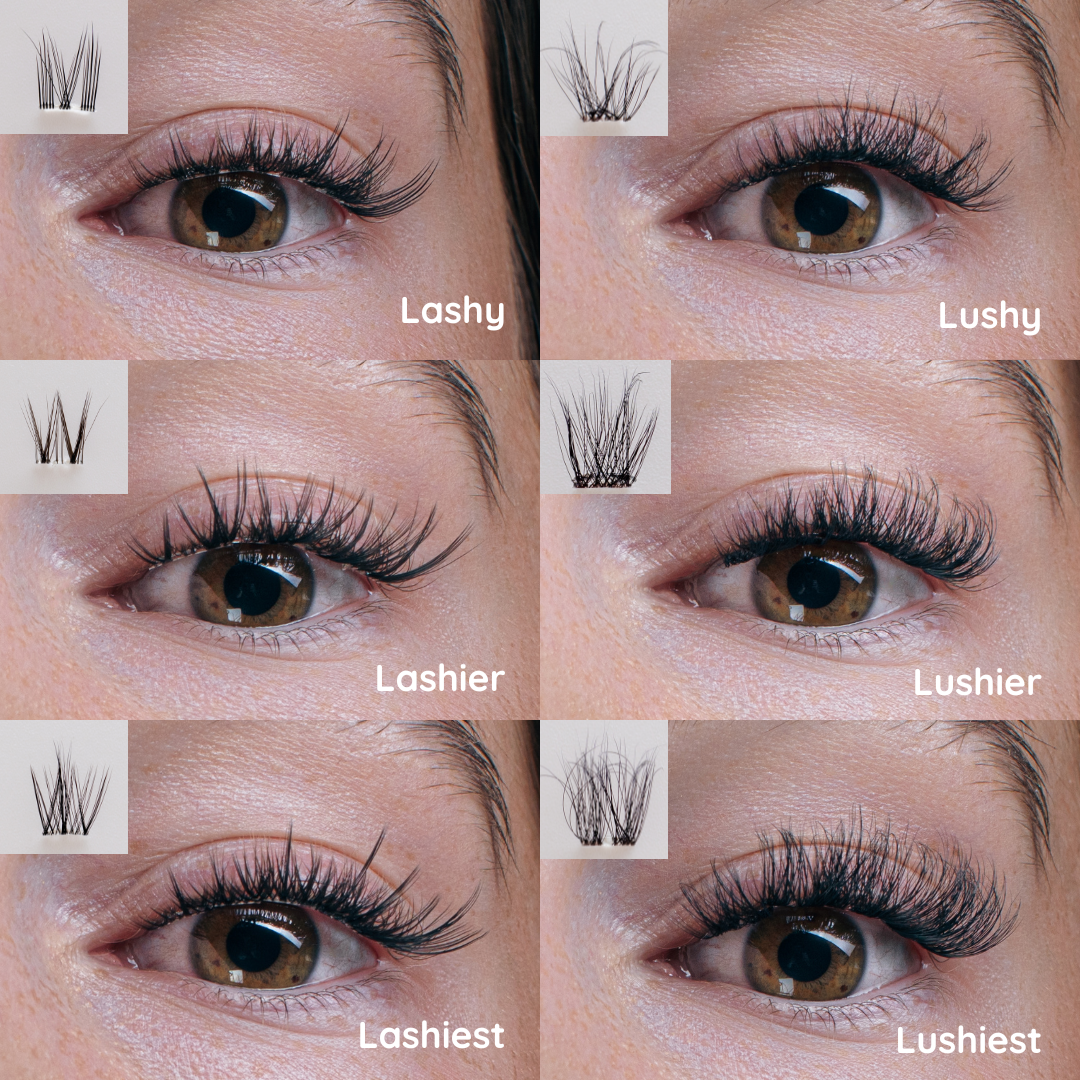
Compare our lashes
With incredible lashes to choose from you might need a bit of help to see which look you prefer. Here are our lashes side by side. What's your favourite?
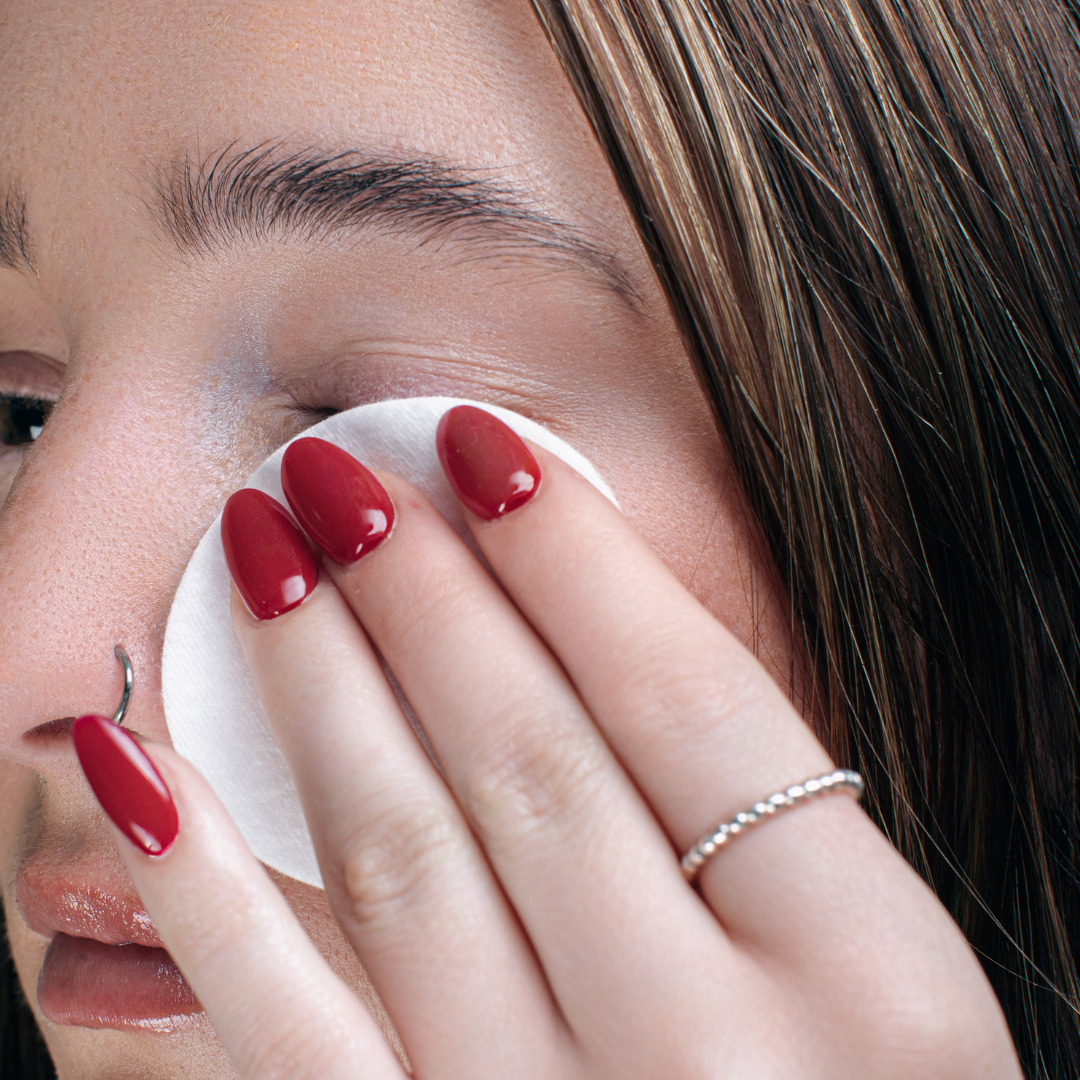
Step 1
Clean your lashes
Make sure your lashes are clean and dry before you start. But please don't use any oily products to clean your eyes because this will prevent the lashes from sticking properly. We recommend using a wipe or just some cotton wool and water.
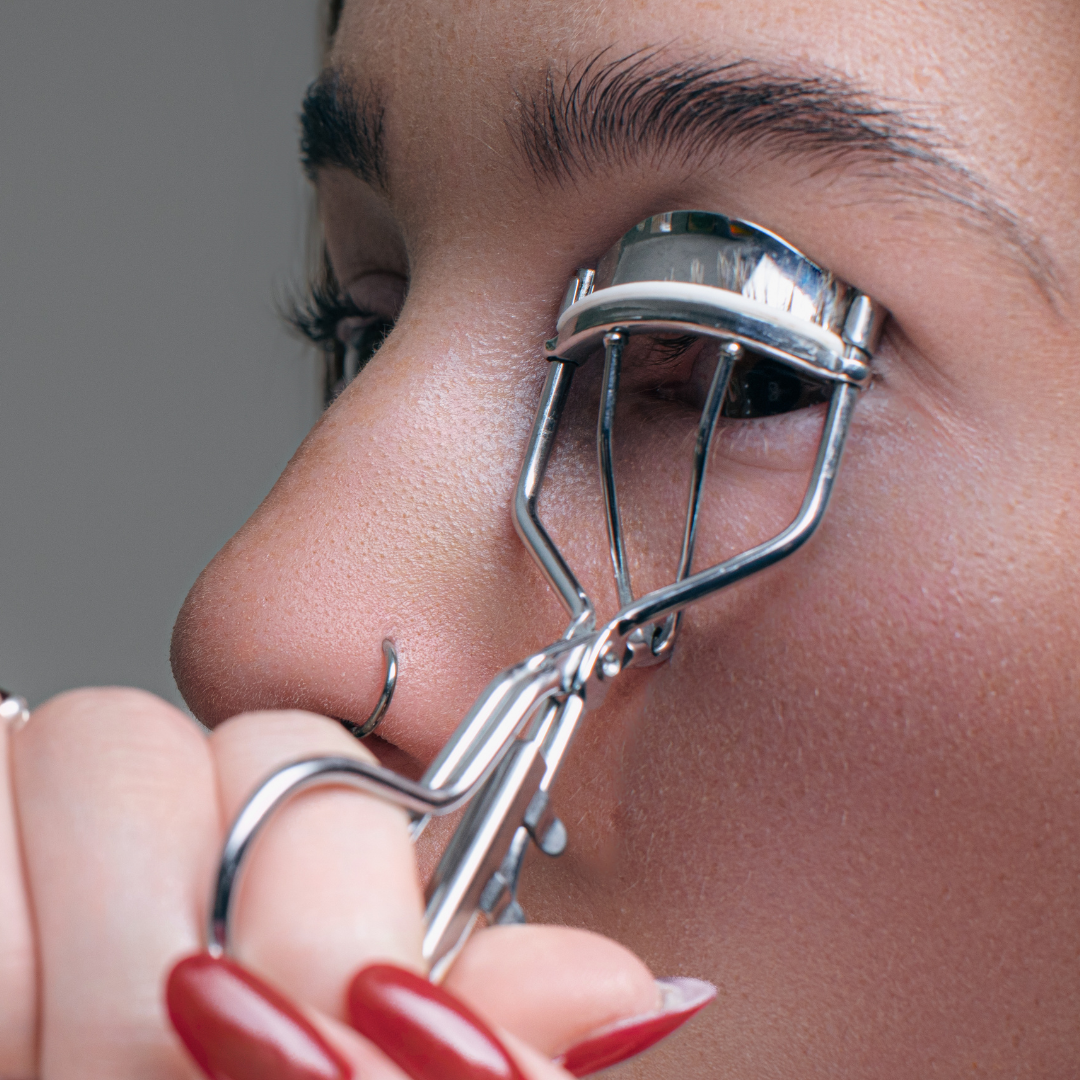
Step 2
Curl your lashes
Give your natural lashes a curl before applying your i:licious lashes. This helps your lashes point up and look as full and flattering as possible.
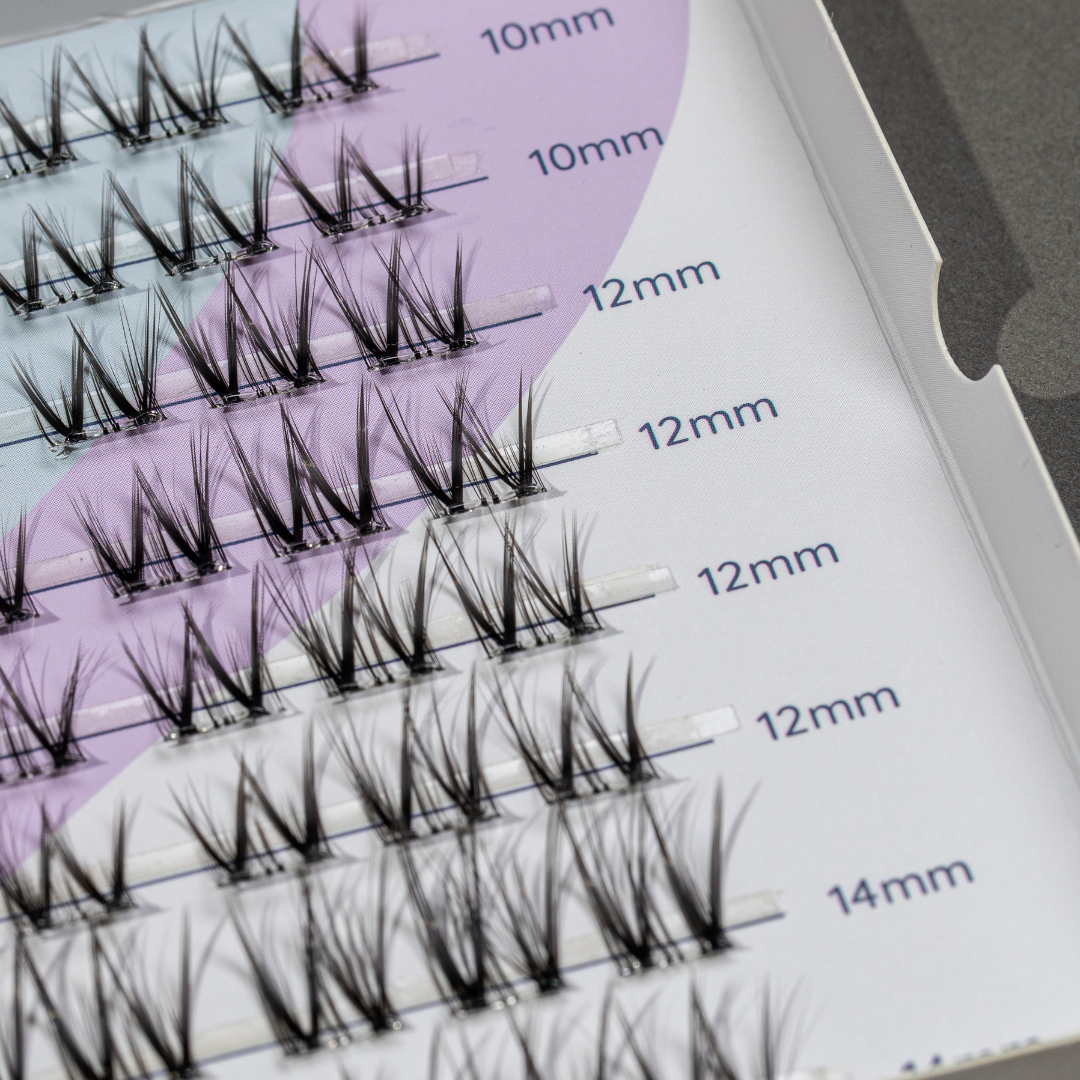
Step 3
Pick your lash size
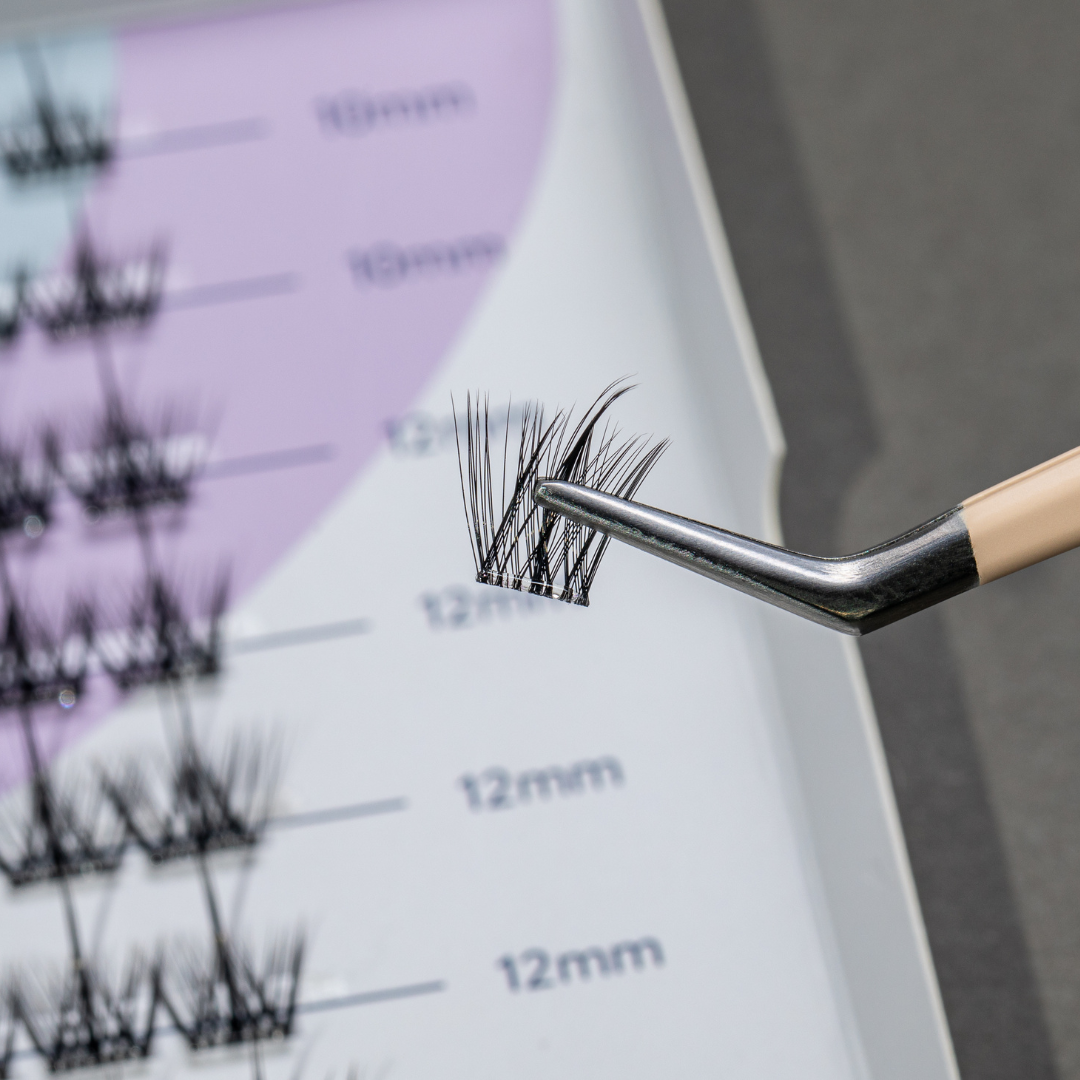
There are 3 different sizes in your lash box. 10mm, 12mm and 14mm. There are 2 strips of 12mm because these are typically used the most.
Step 4
Select your first lash
Once you have chosen what sizes you want to apply, we recommend the first cluster you should apply is the one at the outer rim of your eye, so the longest. You can then work your way in towards the inner rim.
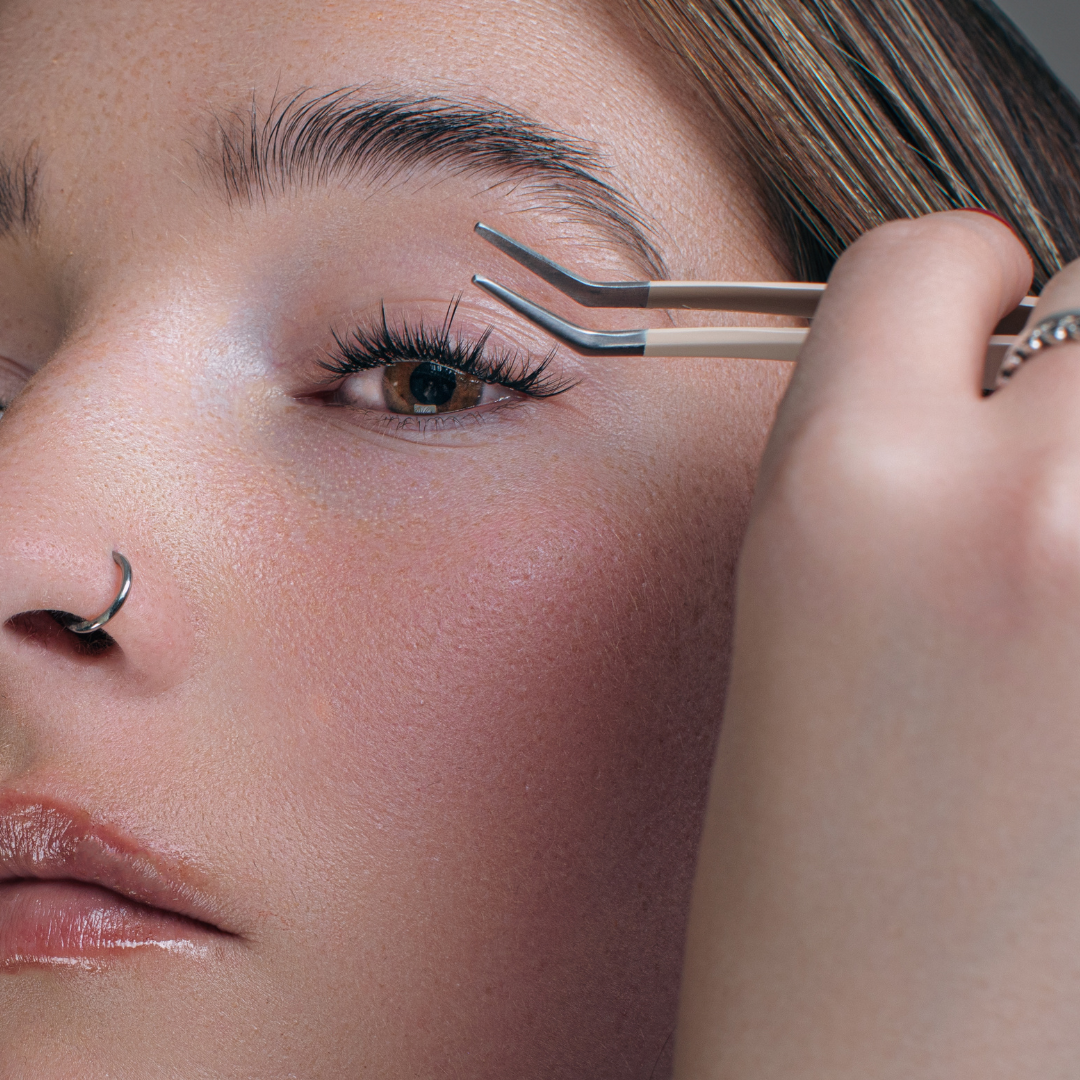
Lift up clusters with our i:licious applicator (this is important because it is designed to make application as easy as possible). Make sure to lift them close to the bottom but avoiding the glue strip.
Step 5
Apply your lashes
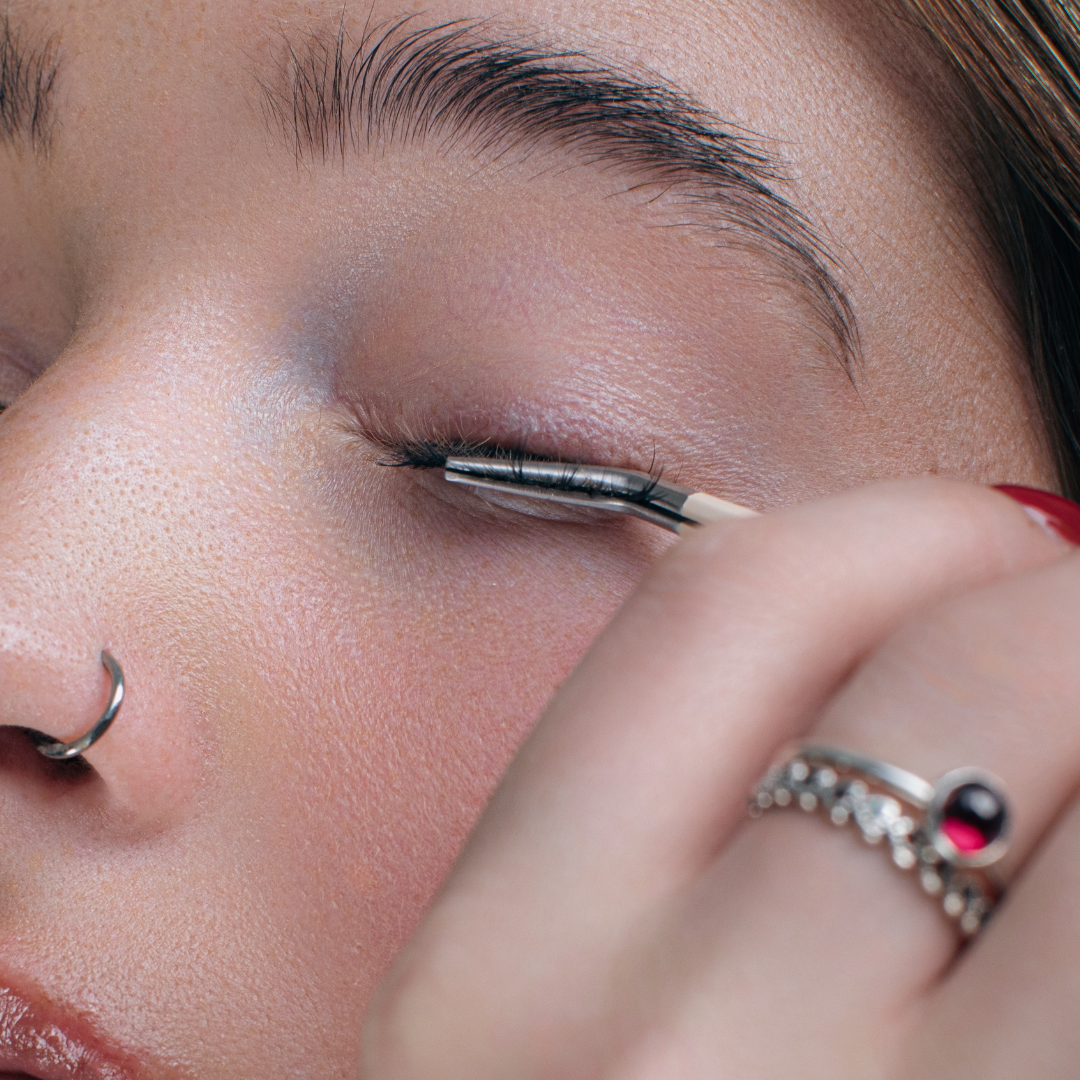
Place clusters under your lashes, close to the waterline.
You want the lashes to be as close to the waterline as possible because this helps them stick. But if you go too far onto the waterline you might find it uncomfortable.
Work from the outer rim to the inner rim on each eye.
Practice really makes perfect here.
Step 6
Secure your lashes
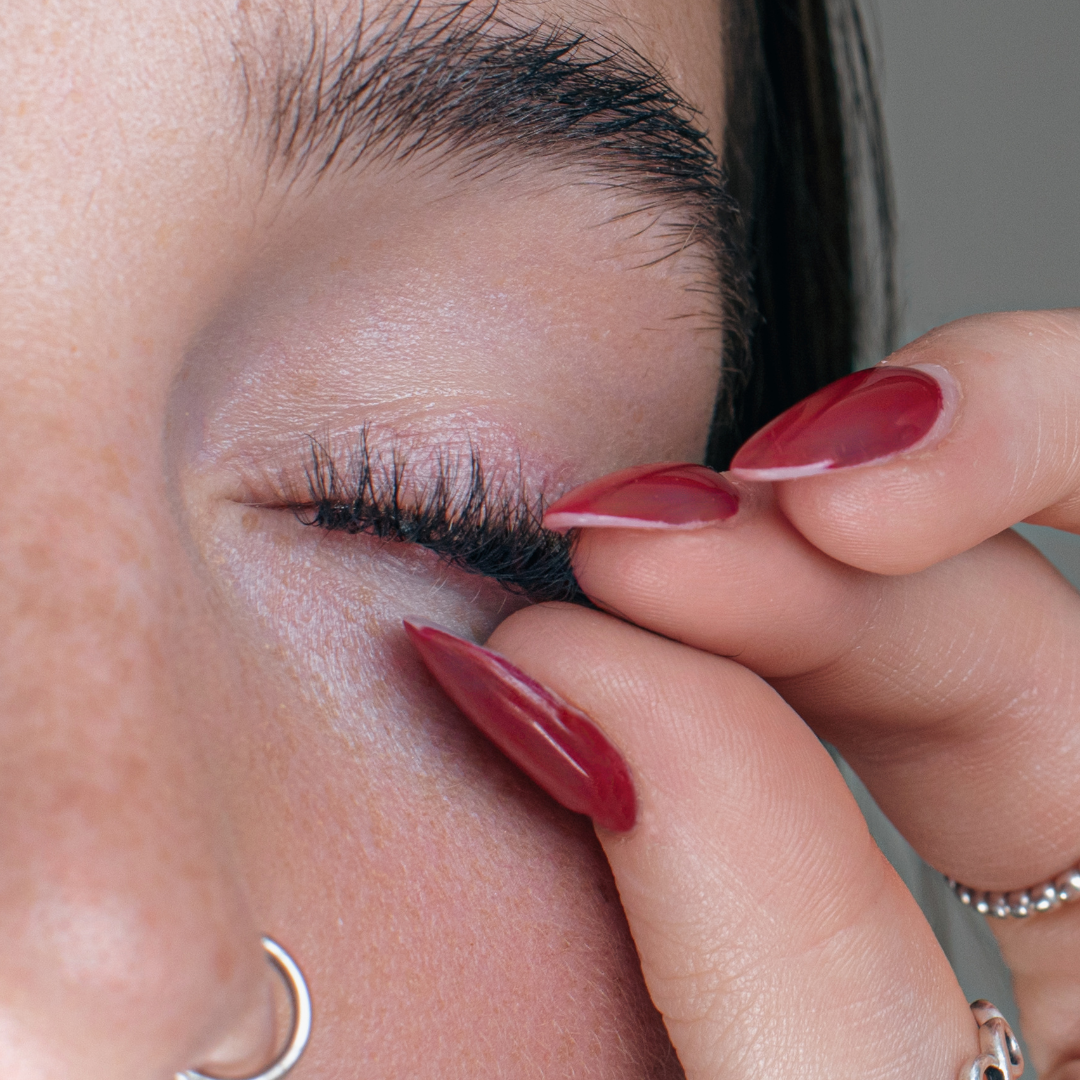
Once all your lashes are applied secure them by pressing them between your applicator, your fingers or blinking.
Step 7
Removing your lashes
Unlike lashes which need glue to apply, our i:licious lashes are so easy to remove without causing damage to your natural lashes.
Simply pull on the lash in an upwards motion to remove.
We recommend you patch test one cluster on your arm for 24 hours before using on eyes.
tip:licious
-
Applying your lashes
Practice, practice practice makes perfect. We recommend following our how-to's and finding a time to practice applying your first set of lashes when you have time to fiddle. Our top tips - look down into the mirror, lift your lid under your brow with the other hand and start at the outer rim of your lash.
-
Natural look
For a natural look, use 3-4 clusters. Lashy or Lushy are our top picks for a natural look. Our Lash collection has been exclusively designed to provide a delicately enhanced finish that is subtle for everyday wear.
-
Dramatic Doll-Eye
For a dramatic and Doll-Eye look, use 4-6 clusters for full volume and bold styles. Use longer clusters in the centre of the eye to make the eyes look bigger and rounder.
Our Lush collection has been designed for day to night, as well as giving you a more dramatic look and good for party wear. -
Lashes that last
If you give your lashes a quick blast with the hairdryer for 20-30 seconds a day it helps your lashes last longer.
Just remember to keep your eyes closed when you do it!
-
Storing your lashes
Store them in a warm, dry place. Avoid:
• Radiators (too hot)
• Bathrooms (too humid)
• Cold rooms (too chilly)
Subscribe to our newsletter
Be the first to know about new collections and exclusive offers.
